
PES2Card utility 2.00.010 introduces the possibility to write designs to an ATA card that can be used in the Janome MC10000. In order to be able to do this, your PC needs a card slot that accepts ATA cards. My PC has one of those and I will use for this purpose a generic 32 MB ATA card.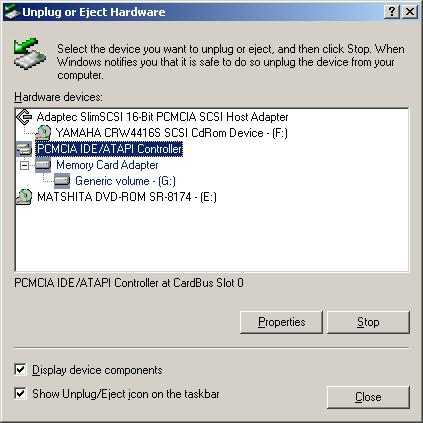
The first thing you need to do when writing files to a MC10000 ATA card is go to Settings and select the ATA card as the floppy. 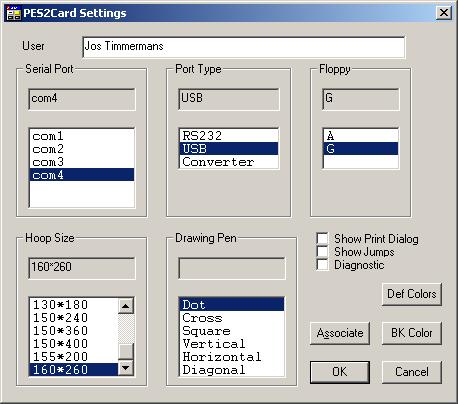 As usual with PES2Card, you can add designs to a card using the Add button on the Write Card dialog. Below you see a design set ready to be written. 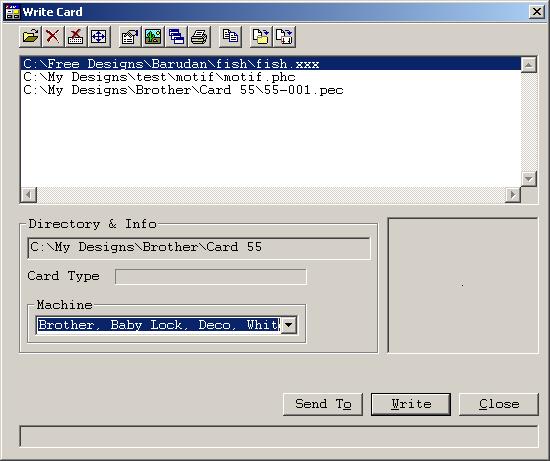
When you press the Copy A button on the Write Card dialog, the designs are converted to JEF format and copied to the ATA card. You might have designs on your card already that you want to stay on the card. You need to add those to the list of designs using the Add button on the Write Card dialog. You can do this at any time before writing. Specify all embroidery files or Janome (*.PTN), when adding and the designs on the card will be shown in the Select files dialog. 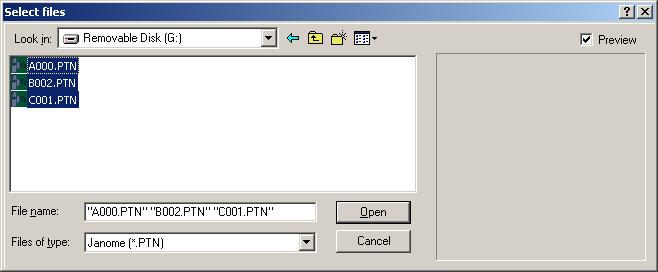
Press Open to add the selected designs to the list of designs to be written. 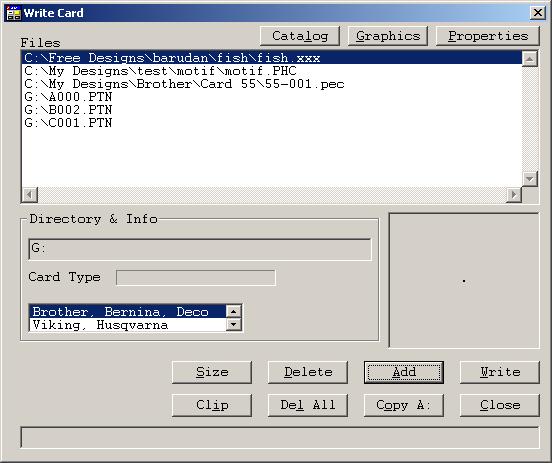
The next step is to press the "Copy A" button. After pressing Copy A, you will see:  Press ATA card for Janome 10000, which will bring you to: 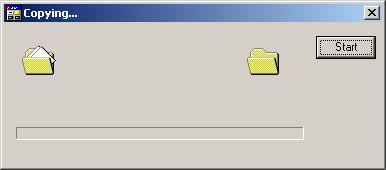 When you press the Start button, the writing starts. You can still cancel out of writing designs to the ATA card by clicking on the cross in the top right corner. You will be invited to insert a "floppy" in drive G. You know better of course as you have your ATA card already in Drive G (in my case). Press the OK button to tell PES2Card utility to contnue. 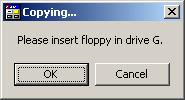 A warning will be displayed that designs by the same name can be overwritten. Press OK if you're happy with that.  A progress dialog will be displayed while copying. Very soon you will be back on the Write Card dialog. You can verify the designs are really written on the Read Card dialog. The designs are written in a folder called EMB_FILE. In my case that resulted in G:\EMB_FILE. |
Last Modification: Jun 2, 2003
(c) Copyright 2003, Jos Timmermans